

Create a custom template
A custom template is your own export layout, built in Exportify’s Settings: choose fields, arrange and rename the columns, pick Excel, CSV, delimited text or XML, set row and date options, and save.
A custom template is your own export layout: the fields you want, in the order you want, with the column names, file format and formatting you choose. Once saved it appears alongside the pre-built templates every time you export.
How the template builder works
Section titled “How the template builder works”The template builder has two halves. On the left, Available Fields lists everything Exportify can export, grouped by where it lives on the order: order core, dates, financial, customer, addresses, line items, products, fulfilments, marketing, location, and any custom fields detected on your store. On the right, Selected Columns is your file: one row per column, in output order. Move fields across, arrange them, rename headers, pick a format, save.
By default a template writes one row per line item, so an order with three products becomes three rows that repeat the order-level values. You can switch to one row per order if you do not need line item detail.
How to build a custom export template
Section titled “How to build a custom export template”-
Start a new template. Go to Settings and click New Template. To start from an existing template instead, open it and use Copy to New Template.
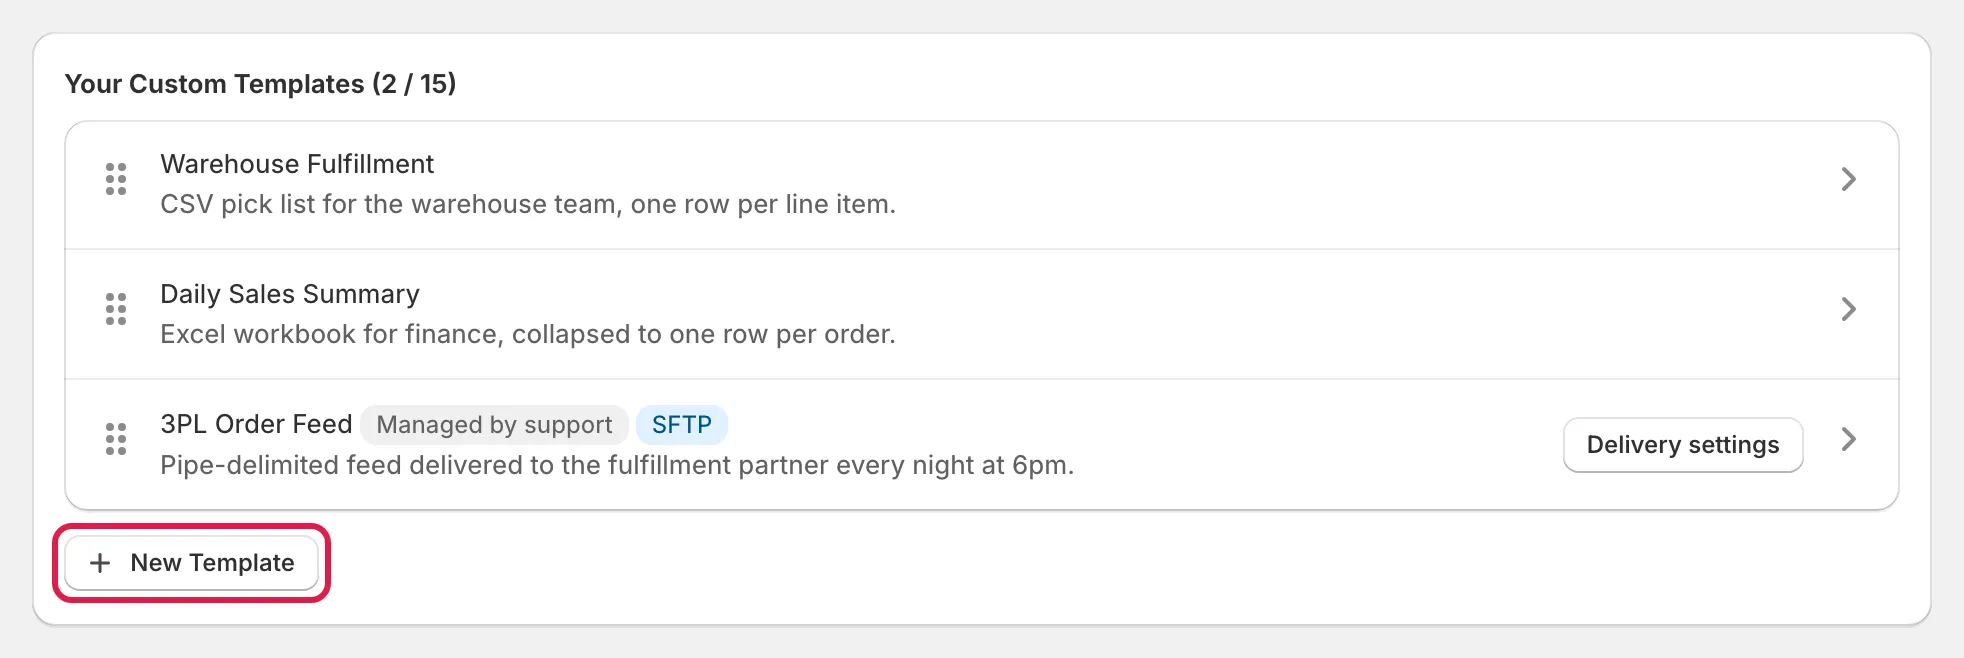
Settings page with the New Template button highlighted -
Name it and choose the format. Under Template Details give the template a name and description that will make sense to whoever runs exports later. Choose the Output format: Excel (.xlsx), CSV (.csv), Delimited Text (.txt) or XML (.xml). For CSV and delimited text, choose the Delimiter: comma, tab, semicolon, pipe or a custom character. Set the File name pattern if you want something other than the default; it can include the date and time of the export using variables such as
#{year},#{month}and#{day}.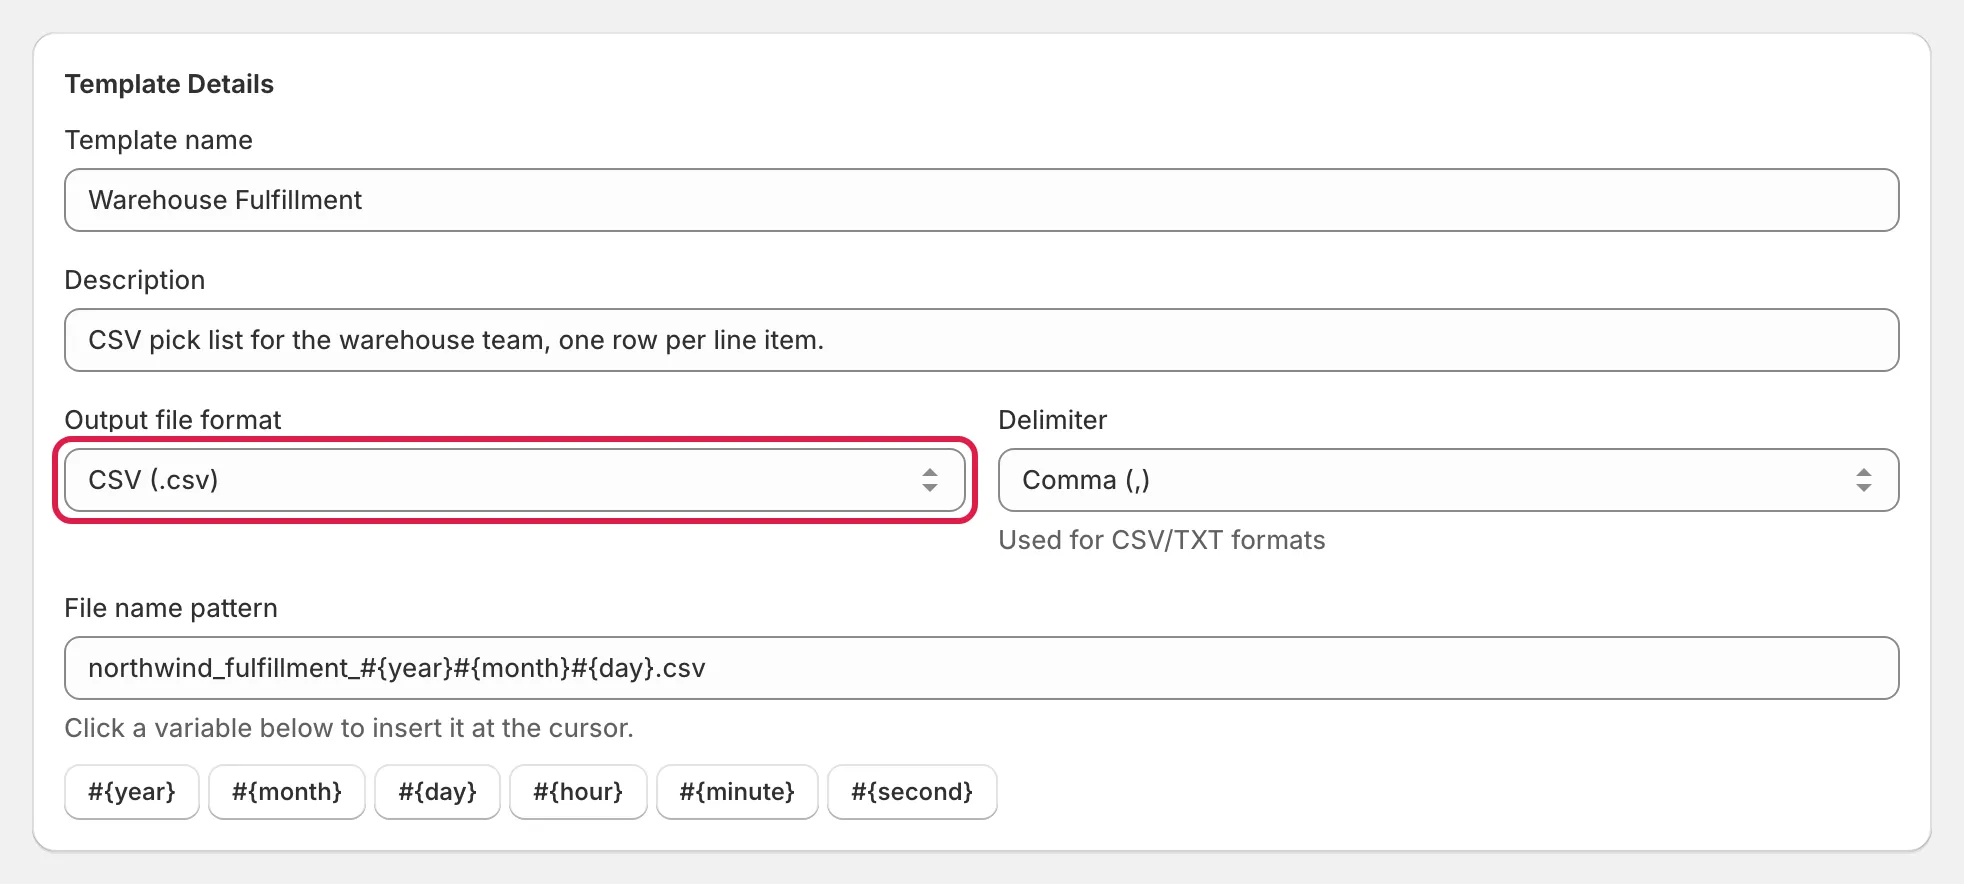
Template Details card with the Output format select highlighted -
Add columns. Open a category under Available Fields and click a field to add it to the end of Selected Columns, or drag it to the exact position. Use the search box to find a field by name. Line item fields carry a line item badge; they change value from row to row within an order, order-level fields repeat.
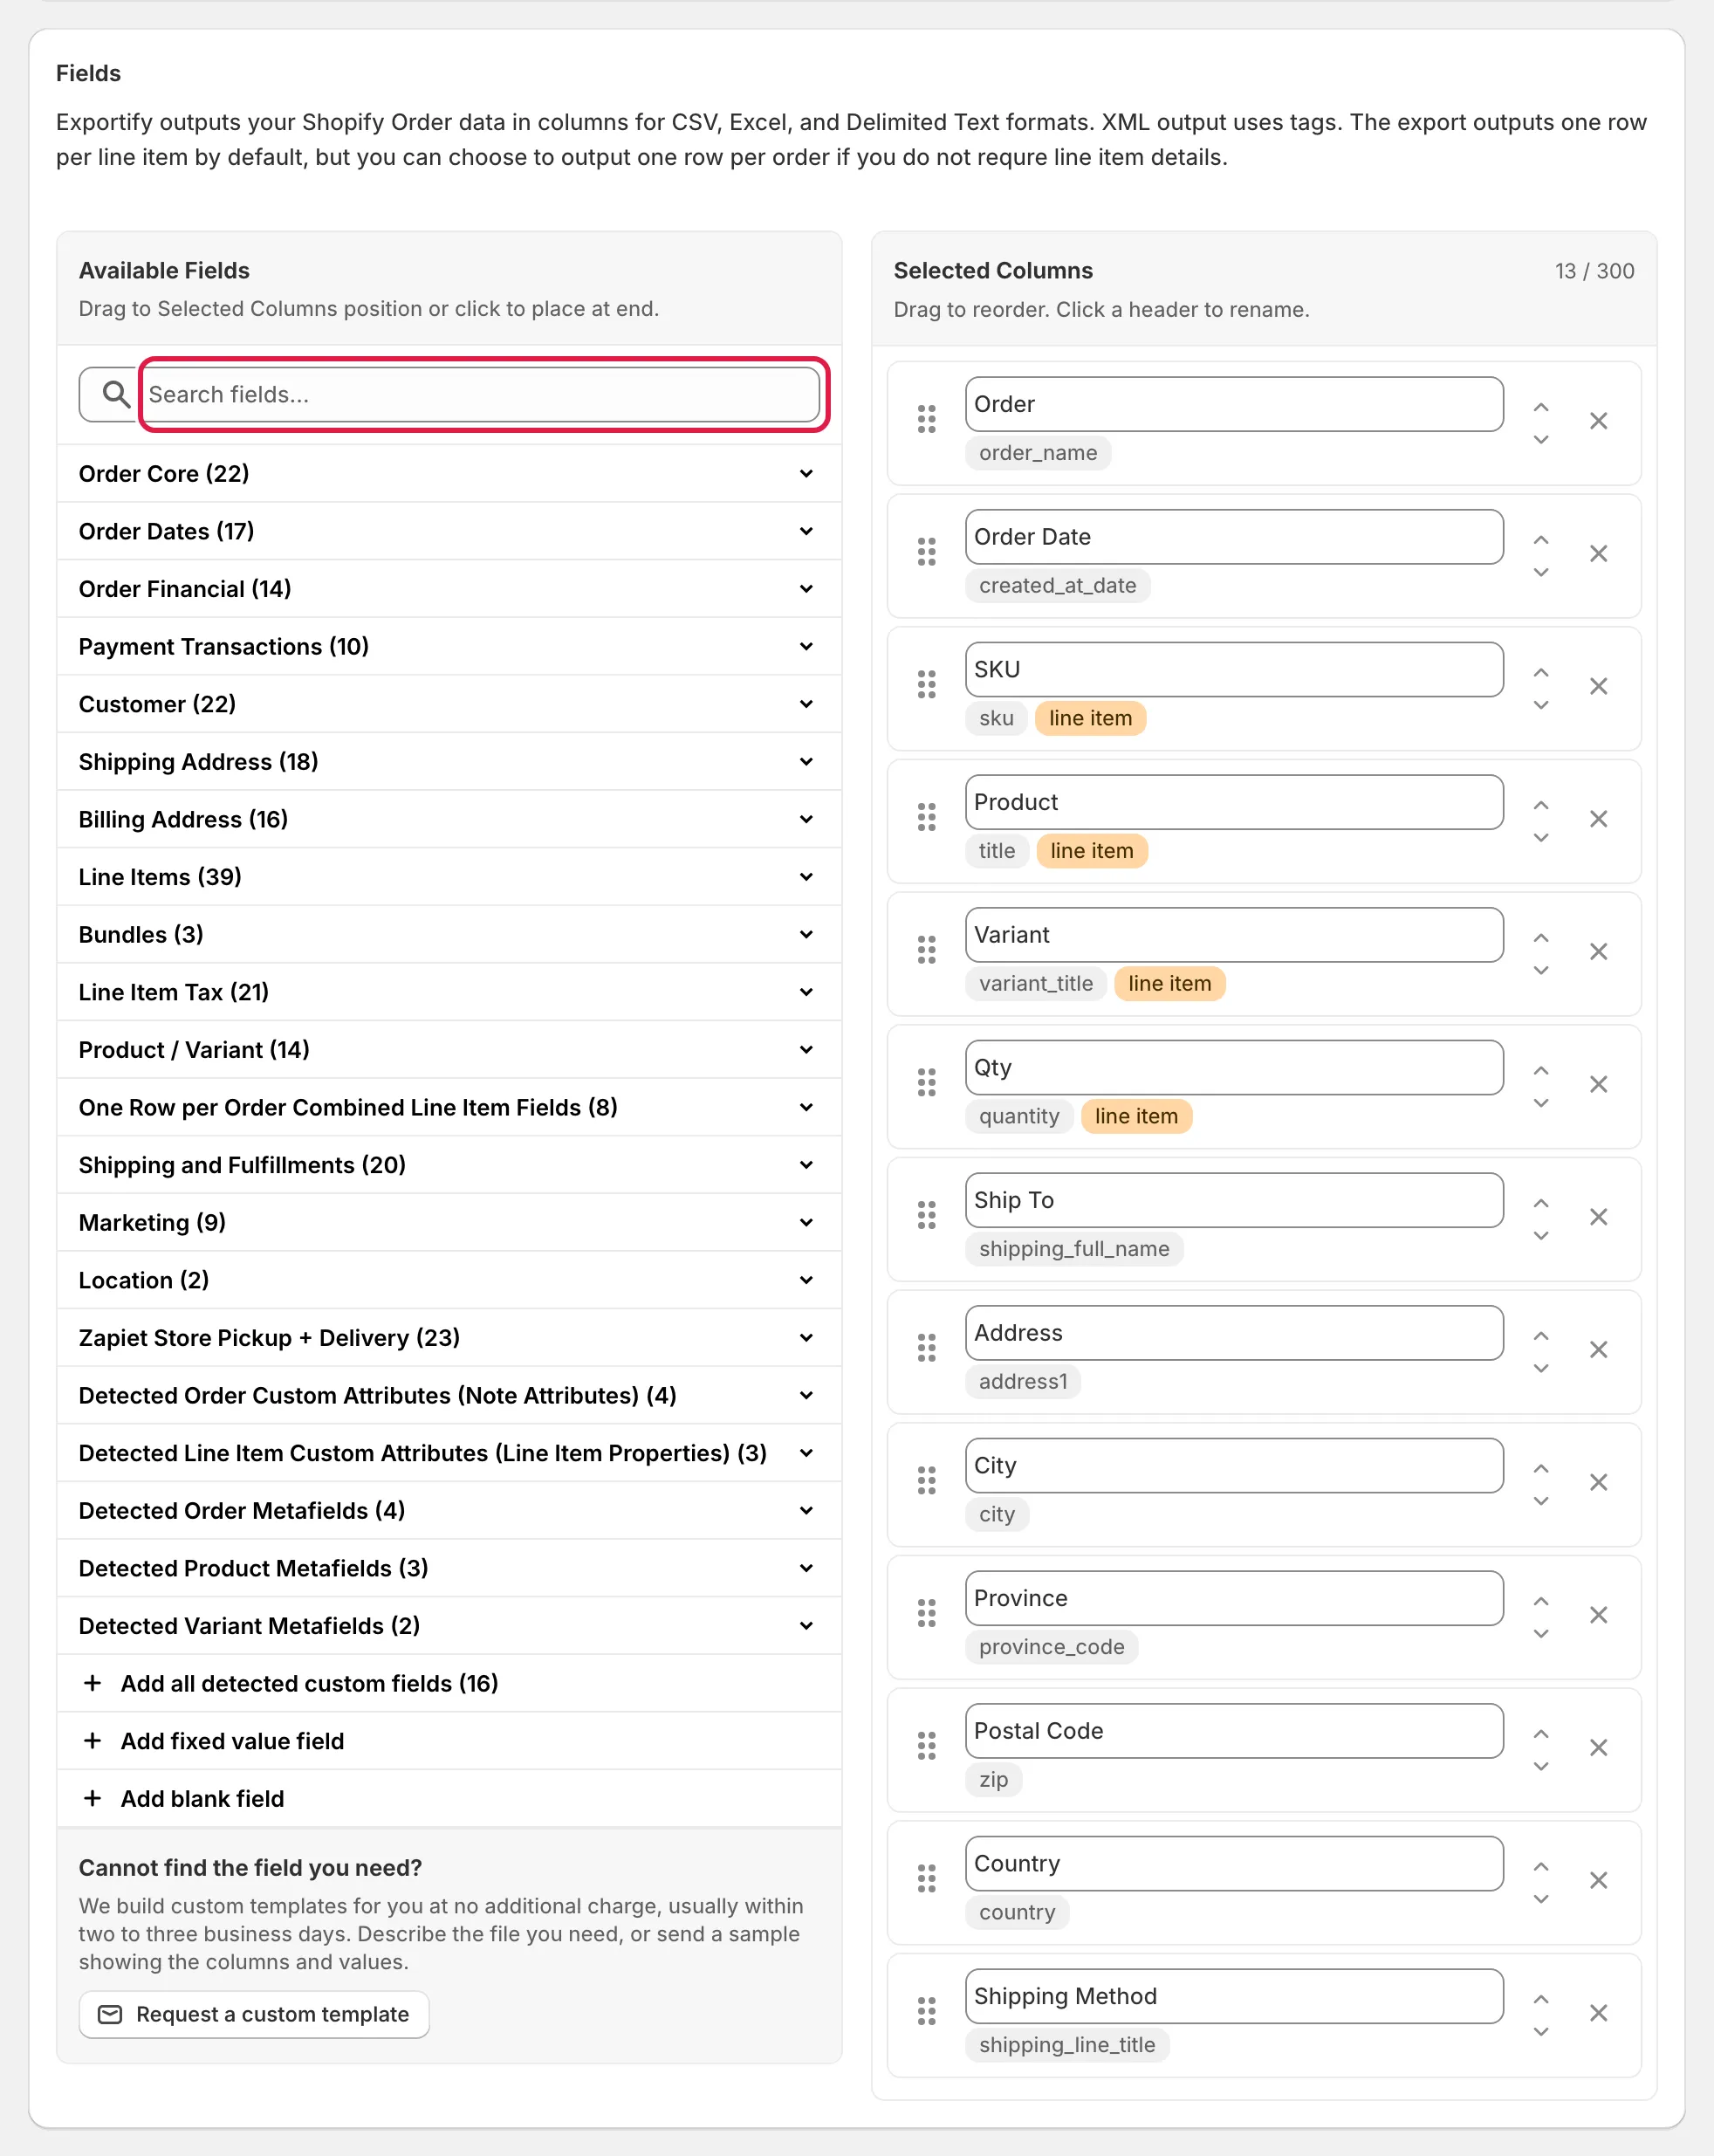
The Fields card: Available Fields on the left with the search box highlighted, Selected Columns on the right -
Arrange and name the columns. Drag rows in Selected Columns to reorder them, or use the arrows. Click a column header to rename it; the name you type is what appears in the first row of the file. Remove a column with the cross. A template can hold up to 300 columns.
-
Set formatting and row options. Under Date & Time Field Formatting choose how dates, times and timestamps are written. Under Row Output Options turn on One row per order if you want a single row per order, or Skip header row if the receiving system does not want column names. Order Number Extensions add a fixed prefix or suffix to order numbers. CSV Options control quoting for CSV and delimited text.
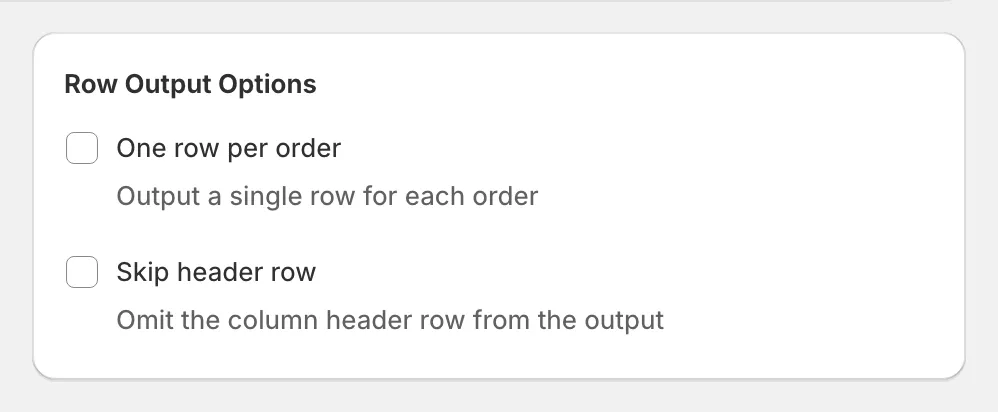
The Row Output Options card -
Save. Click Save. The template’s page opens with a Try an export action so you can run it straight away and check the file.
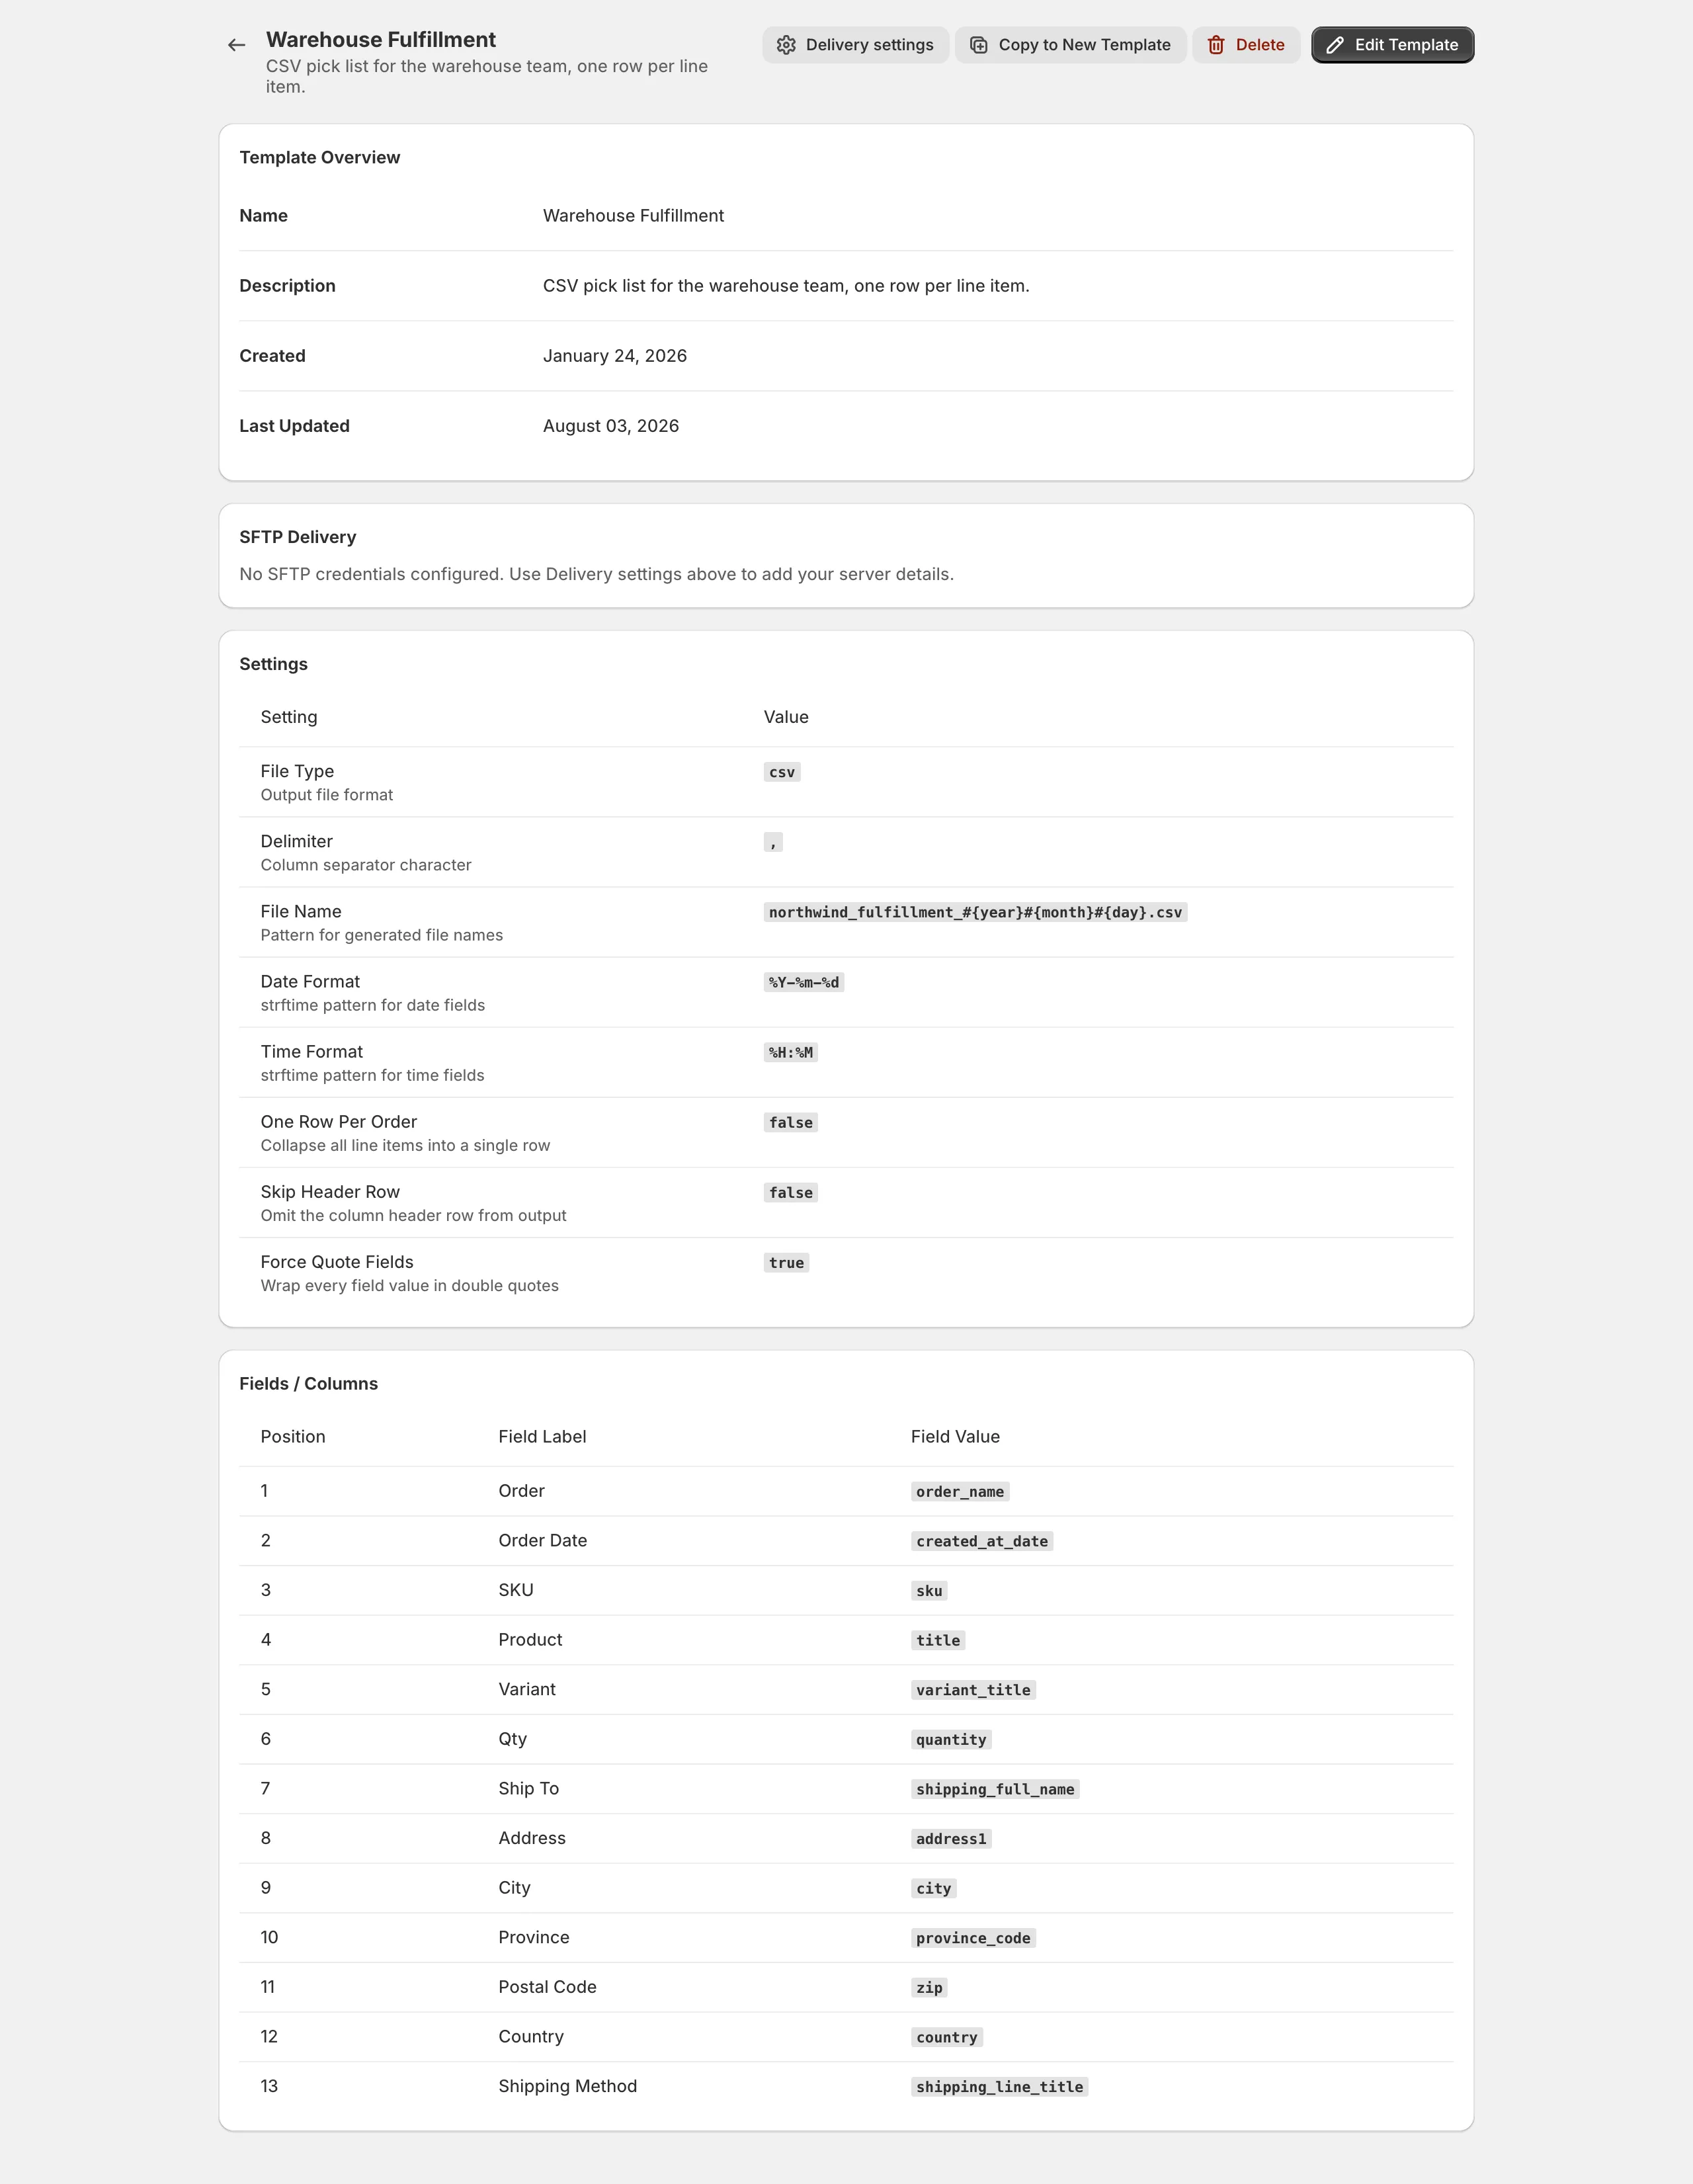
A saved template’s detail page
Tips for custom templates
Section titled “Tips for custom templates”- Rename headers to match the receiving system. If a warehouse system wants a column called
ShipTo1, name it that; the field underneath is unchanged. - One row per order and line items. With one row per order, line item fields output the first line item’s value only. If you need all line items on one row, the One Row per Order Combined Line Item Fields category joins them, for example all SKUs separated by a delimiter.
- Custom fields. Note attributes, line item properties and order, product and variant metafields appear in their own detected categories once Exportify has scanned your store. Add missing detected fields adds all of them at once. See Line item properties and custom attributes.
- Tax and duties. VAT or sales tax per line item, total tax, tax on shipping and import duties each have their own columns. See Export tax, VAT and import duties.
- Copy before a big change. Use Copy to New Template, edit the copy, and switch over when it is right; the original keeps working meanwhile.
When you need a support-managed template instead
Section titled “When you need a support-managed template instead”Two kinds of layout are built by support rather than in the builder.
Columns the builder does not list, such as a metafield that has no definition and has not appeared on a recent order or product. Send support the namespace and key of each one you need. Metafields that were detected you add yourself; see Export orders with metafields.
Layouts that depend on business rules, for example “skip orders tagged wholesale”, “put the shipping cost on the first row only”, “map SKU to a warehouse code”, or a specific XML structure. See Support-managed templates.
Next steps
Section titled “Next steps”- Choose a file format
- Run your first export with the new template