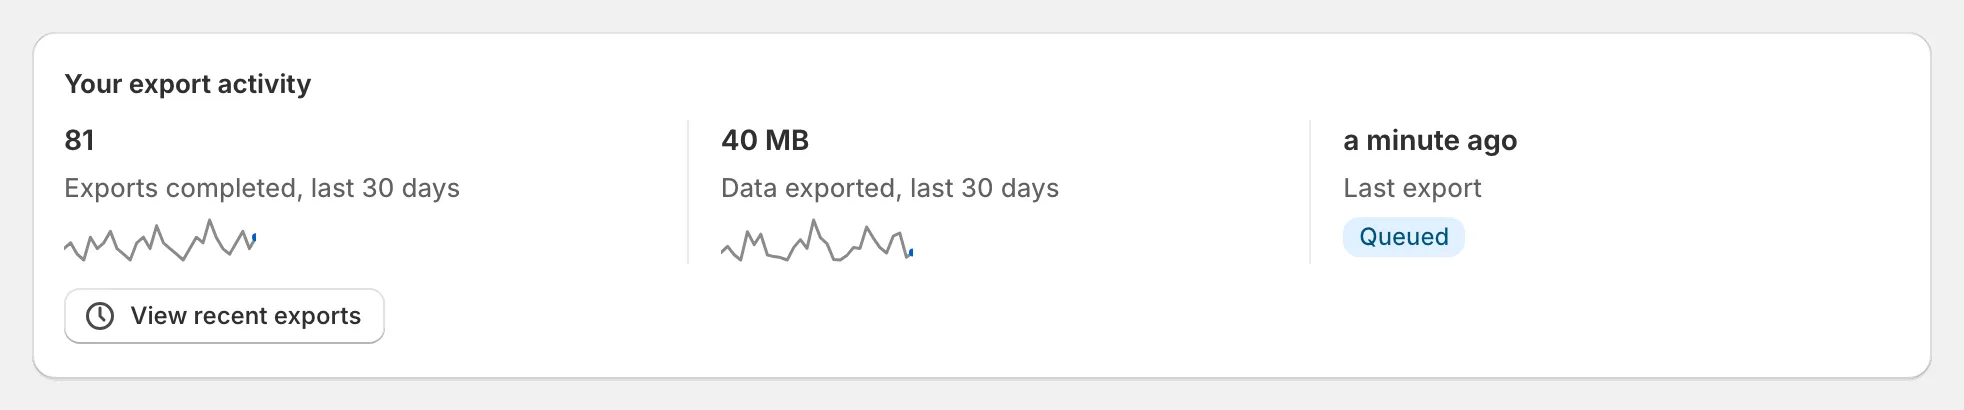
How Exportify works
Exportify exports Shopify orders as CSV, Excel, delimited text or XML files: a template defines the layout, you choose orders by date range, by selection or automatically, and the file is downloaded or delivered to your SFTP server.
Exportify exports your Shopify orders as files in the layout you need: CSV, Excel, delimited text or XML. Merchants use it to hand orders to a warehouse or fulfilment partner, to bring orders into accounting or reporting tools, or simply to get a spreadsheet with exactly the columns they want.
There are three parts to it: a template that defines the file, a way to choose which orders go in, and a way to receive the file.
Templates define the export file
Section titled “Templates define the export file”A template is a saved layout: which fields, in which order, with which column names, in which format, and how dates, numbers and line items are written. Every export uses one.
- Exportify pre-built templates cover the common cases out of the box: a standard order export, the same with your store’s detected custom fields, and production reports that total quantities by product.
- Your custom templates are built in the template builder under Settings. Pick fields from every part of the order, name and order the columns, choose the format, and save. See Create a custom template.
- Support-managed templates are built by us for layouts the builder cannot produce: skip and keep filters, calculated fields, virtual tags, constant values, custom XML structures. They are included with the Standard and Advanced plans. See Support-managed templates.
Three ways to choose which orders to export
Section titled “Three ways to choose which orders to export”-
A date range and filters, from Exportify. Open Exportify from your Shopify admin, choose the date range, optional order, payment and fulfilment status filters, optional tag filters, and the template. This is the everyday way to export a batch of orders. See Run your first export.
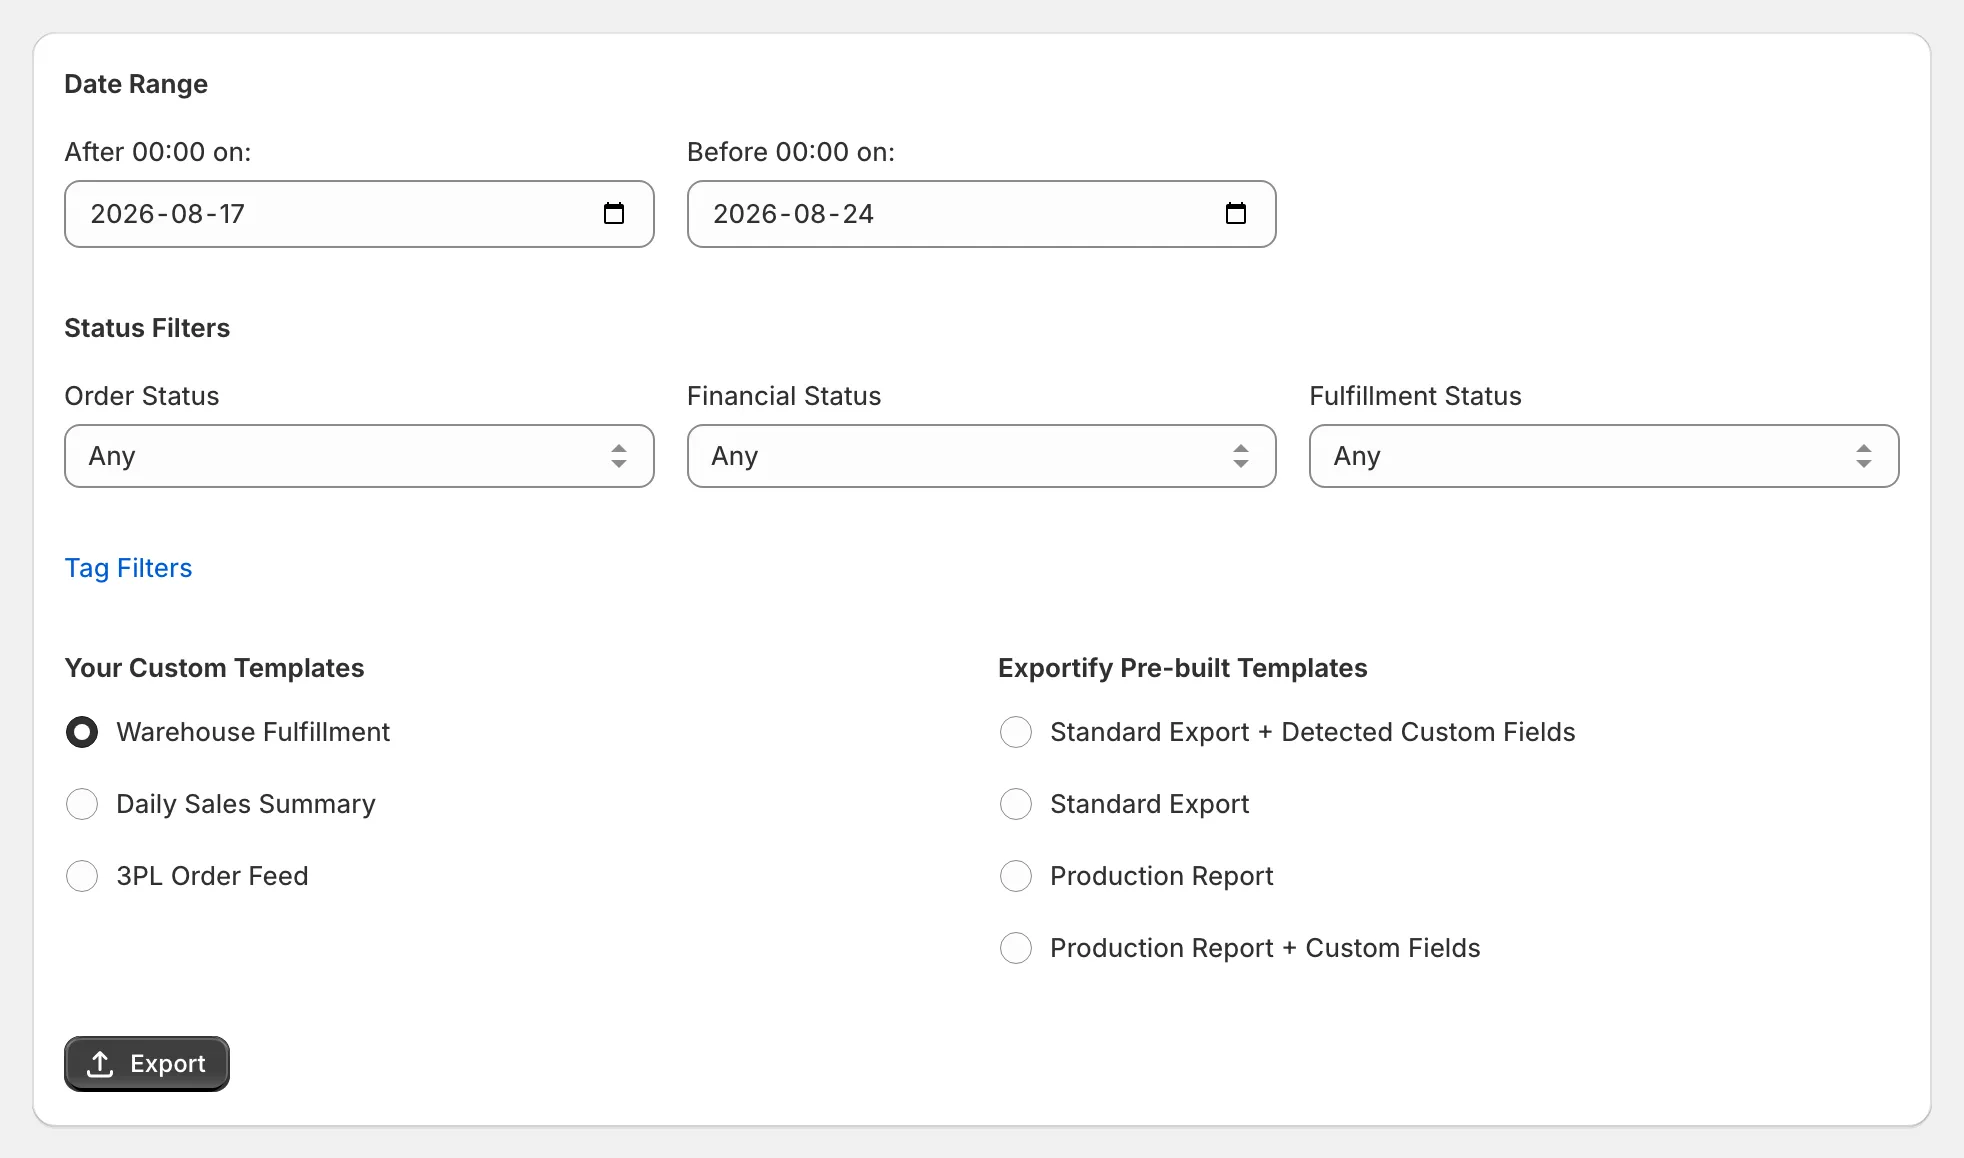
The New Order Export form: date range, status filters, tag filters, template choice and the Export button -
Selected orders, from the Shopify Orders page. Tick the orders you want on the Orders page and send them to Exportify from the actions menu. Handy for a handful of specific orders. See Export selected orders.
-
Automatically. Support can set a template to run on a schedule (for example every morning for the previous day) or to export each order as it comes in, and deliver the file without anyone clicking anything. See Scheduled exports and Automatic per-order exports.
Two ways to receive the export file
Section titled “Two ways to receive the export file”- Download. Exports you run yourself appear under Recent exports with a download link. Export files are removed automatically a short time after they are ready, so download yours when it is ready.
- SFTP or FTP. Scheduled and automatic exports are uploaded straight to a folder on your server or your fulfilment partner’s server: the file lands where the receiving system reads it, with no inbox in between. See Deliver exports to your SFTP or FTP server.
Where to see recent exports and templates
Section titled “Where to see recent exports and templates”The Exportify home page shows your recent exports and the templates you have set up, so you can see at a glance what ran and what is available.